
Purrchiver is a clean, native Mac archive utility — drop an archive on the icon, files come out. Familiar drag-drop gestures, standard macOS keyboard shortcuts, and a focus on getting out of your way the moment an operation finishes.
This page walks you through the three things you’ll do most often.
The first thing you’ll see
The very first time you open Purrchiver, a short four-step setup runs over the Welcome window — just enough to set a few sensible defaults so the app feels ready instead of empty:
- Welcome — a one-line hello, nothing to do.
- How would you like to view archives? — pick Single pane or Dual pane as your default. You can switch any window any time with the pane-toggle button in its toolbar (⌘⌥S).
- Open archives in Purrchiver? — choose which archive types open in Purrchiver when you double-click them in Finder. The common types are pre-selected. If another app currently owns one of them, macOS asks you to confirm — that’s its security check, not a bug.
- A few finishing touches — two opt-in toggles: a notification when an extract or compress finishes, and offering an error report when something goes wrong. Both are off by default.
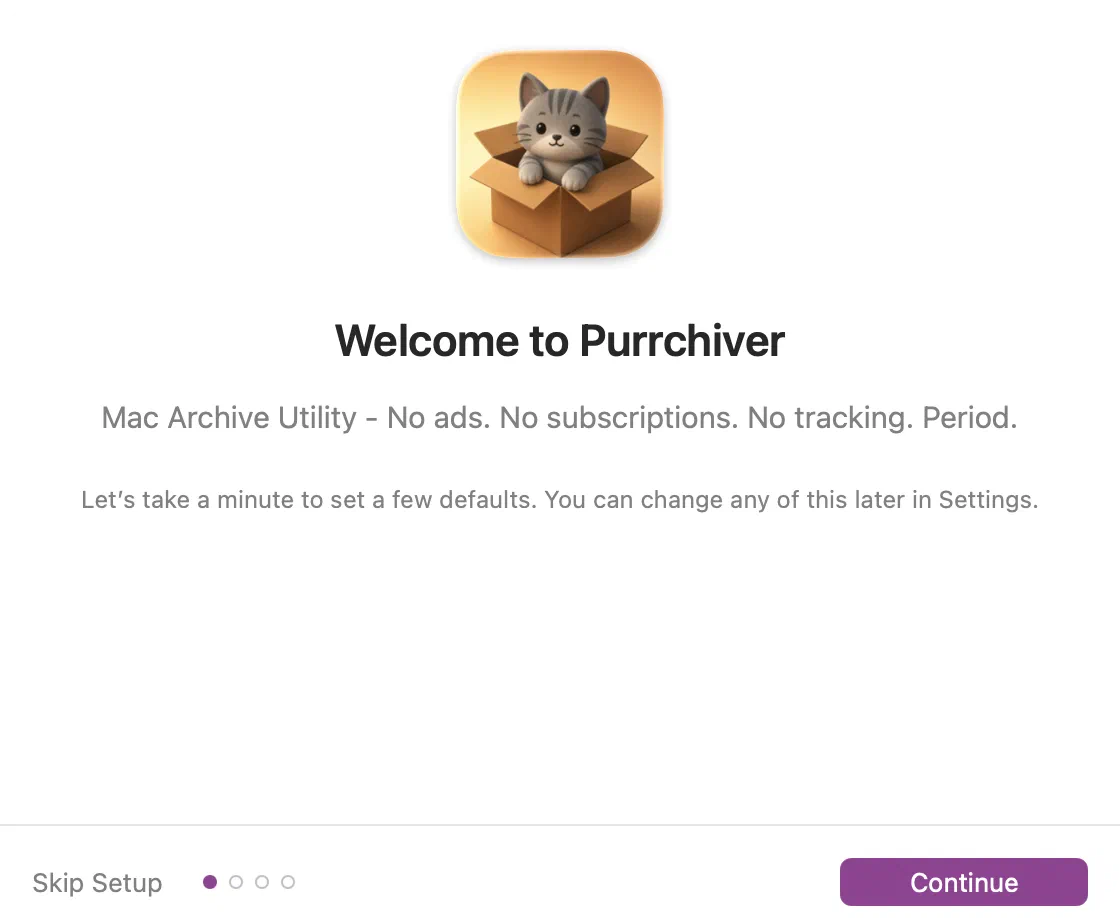
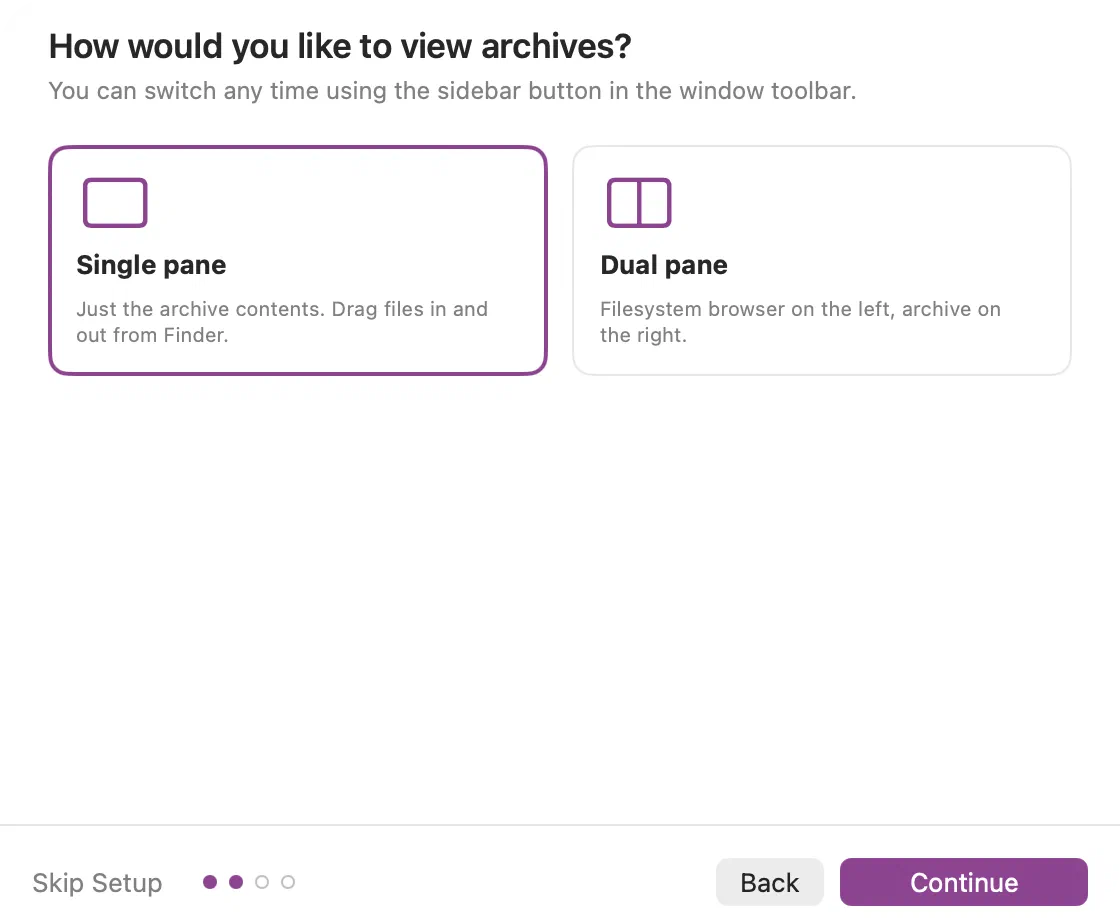
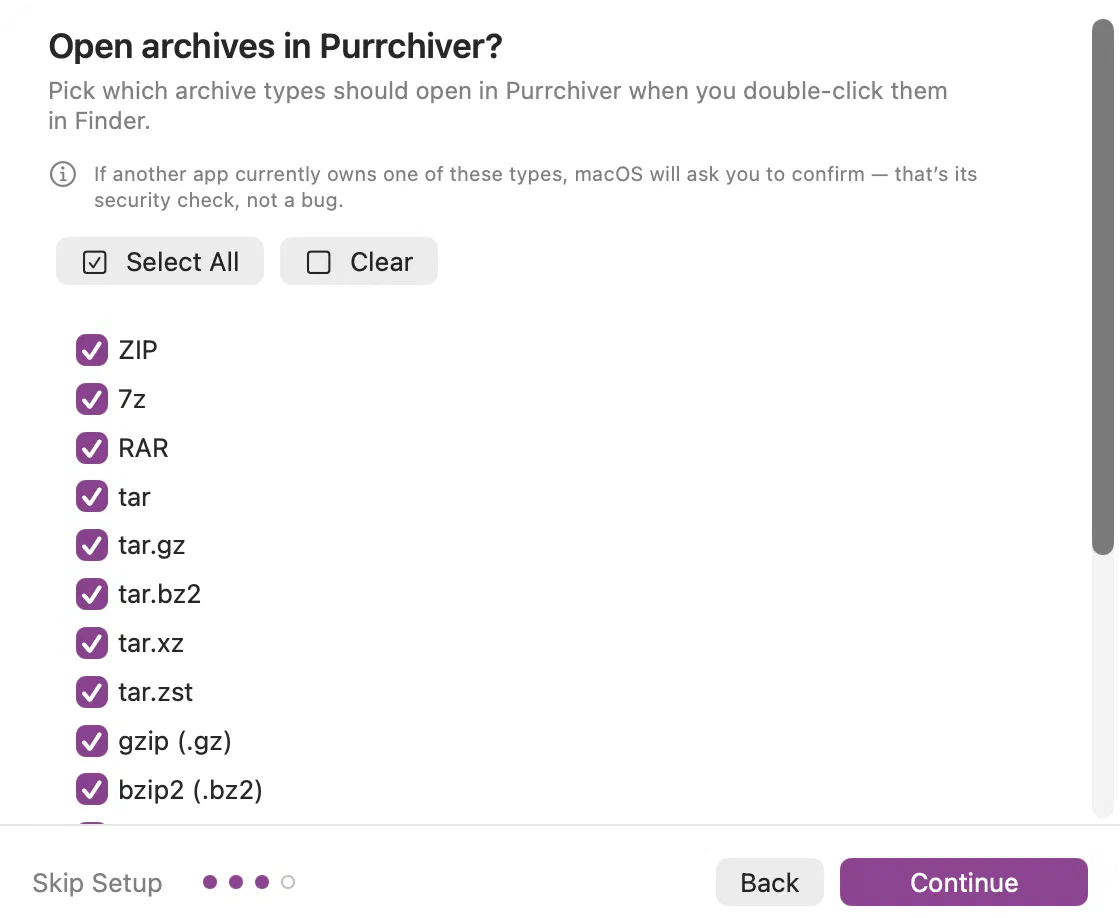
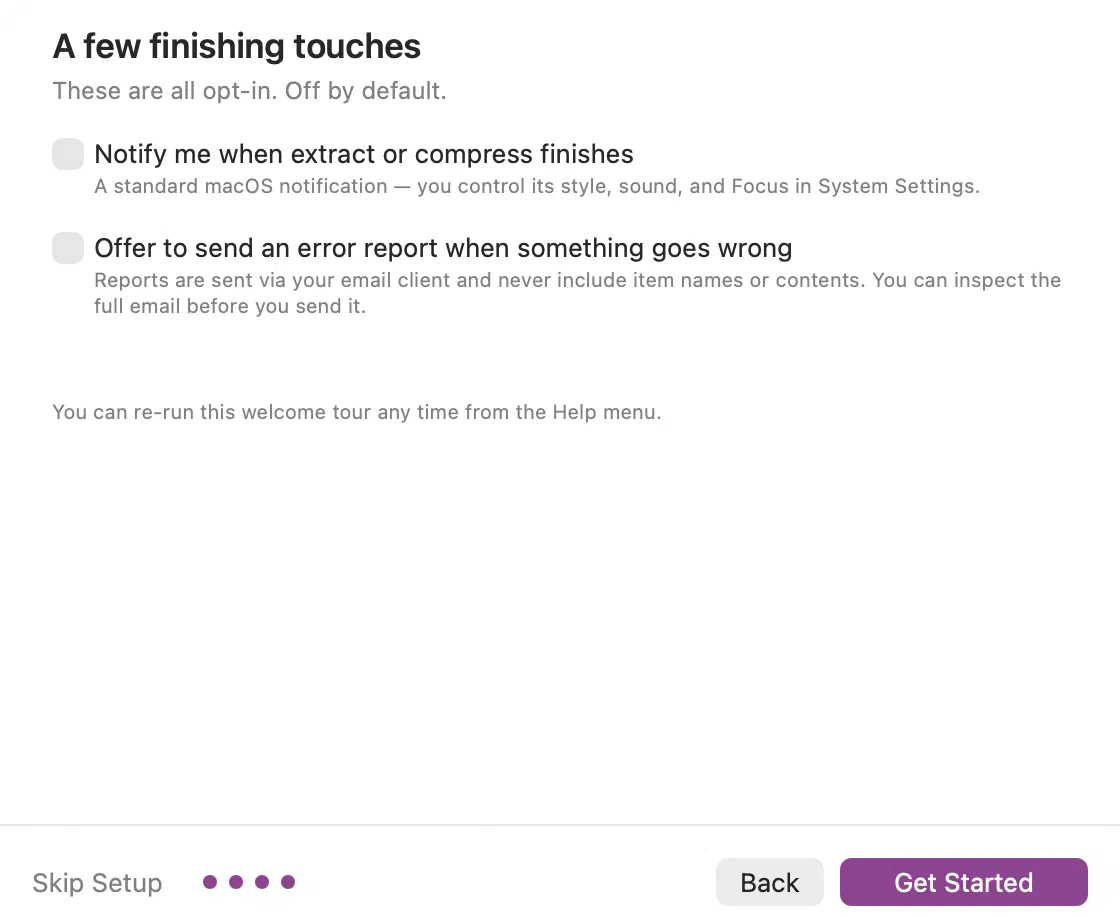
The whole thing is skippable — Skip Setup (or Esc) keeps the defaults — and you can re-run it any time from Help → Show Welcome Tour Again. No signup, no account, no video.
The Welcome window
Once setup is done — and every time you open Purrchiver afterward — you land on the Welcome window:
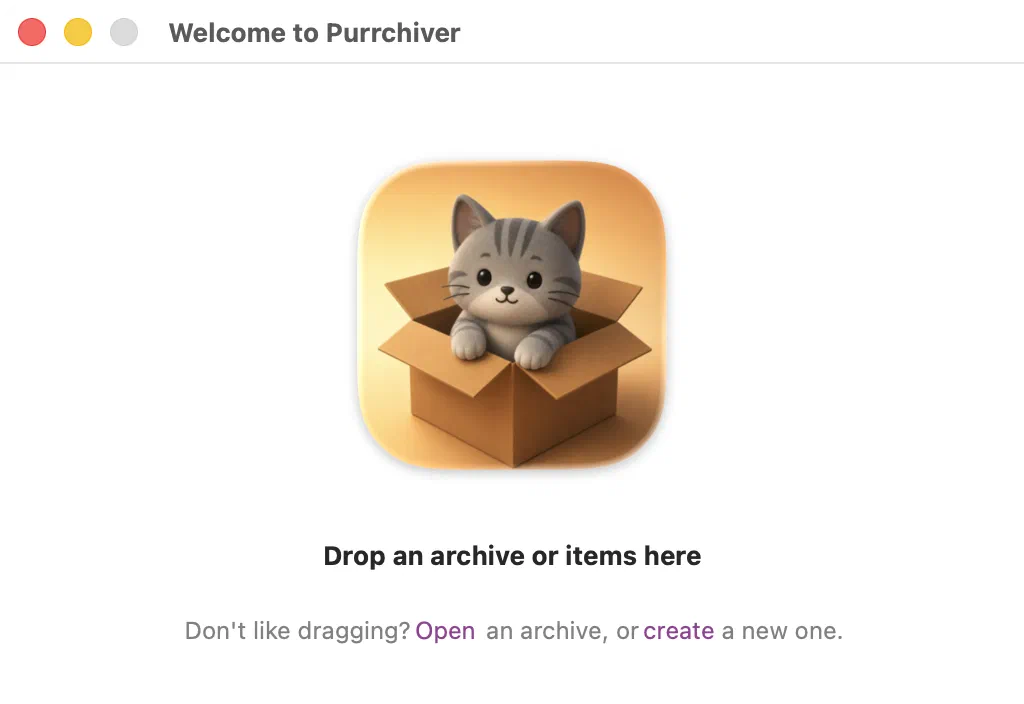
From here you have three ways forward:
- Drop an archive onto the window — it opens immediately.
- Drop one or more loose files onto the window — they start a new archive (Staging).
- Use the links — “Don’t like dragging? Open an archive, or create a new one.” — to pick from a file dialog instead, or use
File → Open Archive…(⌘O) /File → Create New Archive…(⌘N).
The three core concepts
Purrchiver does three things. Once you know these, you know the app.
1. Open an archive
Drop a .zip (or .rar, or .7z, or any of the 30+ supported formats)
onto the Purrchiver window or dock icon — or double-click it in Finder — and
the archive opens, listing its contents. By default that’s a single pane (just the
archive). If you chose Dual pane during setup — or click the pane-toggle
button in the toolbar (⌘⌥S) — you also get a filesystem browser on the left,
as shown here:
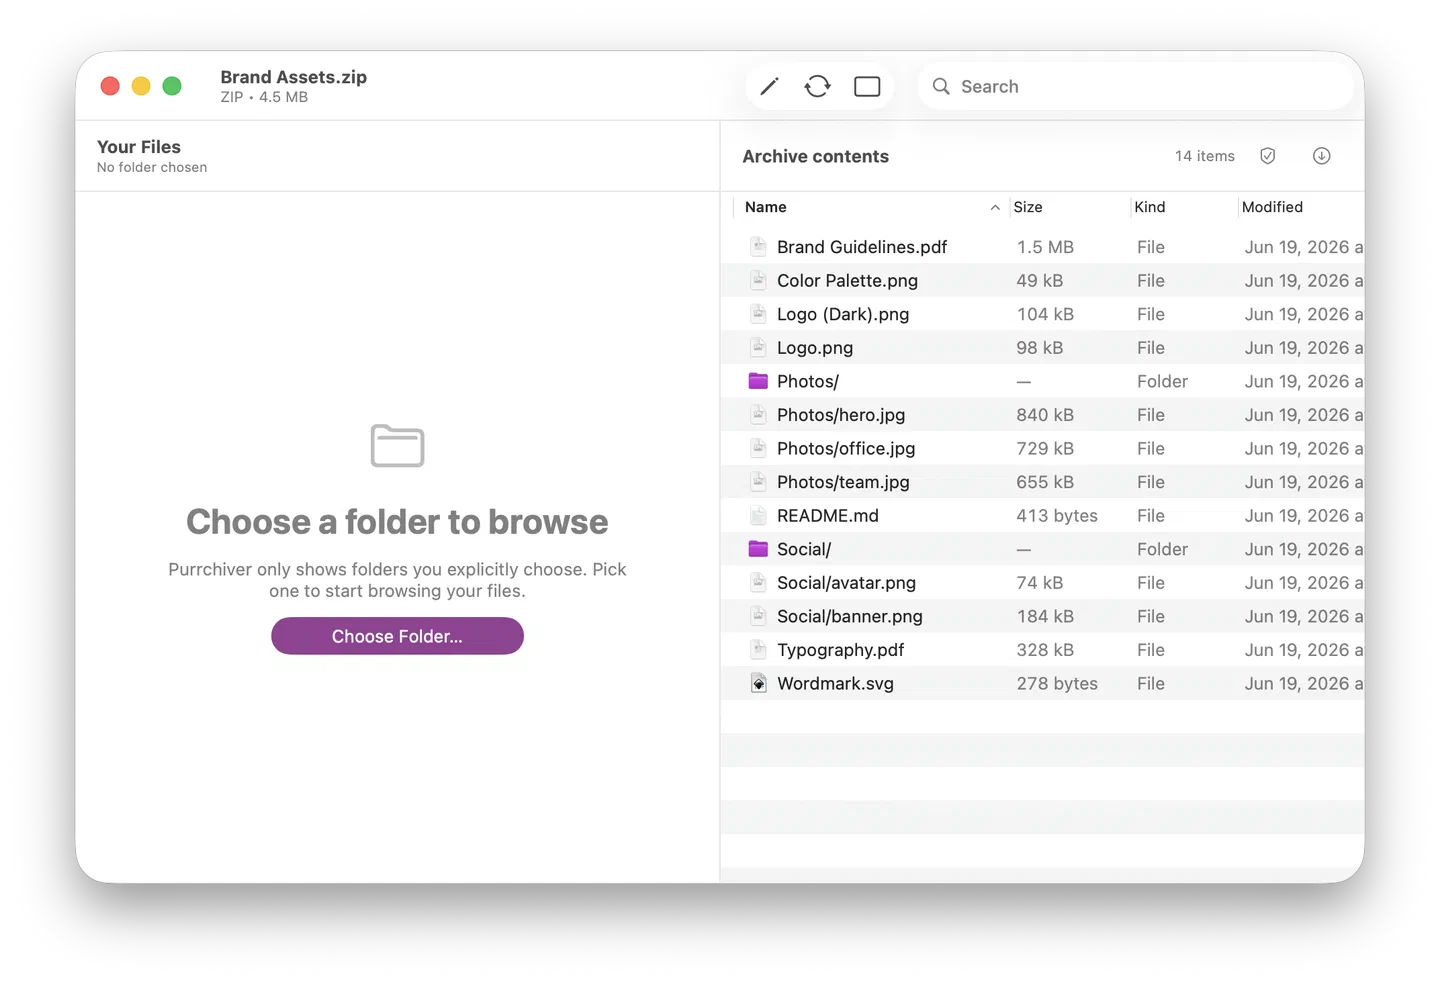
In dual pane:
- Left pane: your filesystem (the same kind of folder view Finder shows).
- Right pane: the archive’s contents.
In single pane, you just get the archive’s contents — drag entries straight to Finder or any folder. You can sort, search, and select entries either way. Nothing has been extracted yet — just listed.
2. Extract files
To get files OUT of the archive:
- Drag entries from the archive pane to a Finder window (or to the left pane in dual view).
- Right-click a row and choose Extract Selected to… to pull out just that item (or the whole selection, if the clicked row is part of it) to a folder you pick.
- Or click the extract icon (a downward arrow) at the top of the archive-contents pane to extract everything to a folder you choose (⌘⇧E) — also Tools → Extract Archive….
- Or right-click the archive in Finder and pick Services → Extract using Purrchiver — each selected archive extracts to its sibling folder.
More detail: Extracting files.
3. Create or modify an archive
You can either compress files into a new archive or modify an existing one:
- Compress files into a new archive: drop files onto the Purrchiver window or the dock icon, use the create link in the Welcome window, or use the File → Create New Archive… menu (⌘N).
- Modify an existing archive: open it, click the Edit button
(pencil icon) in the toolbar or press ⌘E. The window switches into
Edit mode where you can add files (drag in), remove entries
(
−button on selected rows), and save as a new archive (which can overwrite the original, or save as a copy). - Compress or encrypt a single file (no archive): use the Tools menu’s Compress File… or Encrypt… — see Compress or encrypt a single file.
See Editing an existing archive for the full story and the v1.0 limitations (no rename, no reorder, no tar-family yet).
Where things live in the app
| Where | What’s there |
|---|---|
| Welcome window | App icon + a drop zone with Open / create links — your starting point |
| Loaded window (after opening an archive) | Browse view (single or dual pane), read-only; Edit (⌘E) + pane-toggle in the toolbar, and Test (shield) / Extract (down-arrow) icons in the archive-contents header |
| Edit mode (after pressing Edit / ⌘E) | Same dual-pane shell, but drops add entries and rows can be removed — save via Save |
Staging window (after dropping loose files or ⌘N) | Build a new archive — drop in, or use the + icon in the right-pane header (empty state: Add Items…), then Create Archive |
| Toolbar | Archive name, format, size, Search, pane-toggle, and Edit (browse) / Save (edit) — Extract + Test live in the archive-contents header, not the toolbar |
| File menu | Open Archive (⌘O), Create New Archive… (⌘N), Save (⌘S), Close (⌘W — system default) |
| Tools menu | A standalone catalog of pick-and-do verbs: Create Archive…, Extract Archive…, Verify Archive…, Compress File… / Decompress File…, Encrypt… / Decrypt…, plus Extract Selected… (⌘⌥⇧E) when an archive is loaded |
| Settings… (⌘,) | General, File Types, Compression, Finder, Advanced, About |
| Help menu | Opens this help site in your default browser (⌘?) |
What happens when you’re done
Nothing intrusive. No popup. No ad. No modal. No “rate this app” prompt. No share sheet. An extract shows its progress inline and finishes in the same window. A compress shows its progress in the staging footer, and on success an inline “Created <filename>” confirmation appears right there in the footer (with a quick way to reveal the file or close) — and that’s it.
If you’d like a system notification when long operations finish, turn it on in Settings → General (it’s off by default). It’s a standard macOS notification — its banner style, sound, lock-screen preview, and Focus behavior are all yours to control in System Settings → Notifications → Purrchiver.
Next steps
- Opening an archive — every way to open one
- Extracting files — single files, batches, drag promises
- Creating a new archive — format choices, compression, encryption
- Editing an existing archive — the modify-in-place workflow
- Keyboard shortcuts — the complete reference